
To produce exceptional voice-over narration recordings, you need more than just a great voice. Whether you’re narrating audiobooks, corporate videos, or podcasts, having the right tools can make your recordings sound professional and engaging. This guide walks you through the essential gear to elevate your recording setup while keeping the content clear, approachable, and enjoyable to read.
Why the Right Gear Matters
High-quality recordings don’t happen by chance. Using the right equipment ensures that your recordings are clear, polished, and free from distracting noise. It allows you to focus on delivering your best performance without worrying about technical issues. Let’s explore the must-have tools for every professional narrator and how they enhance your setup.
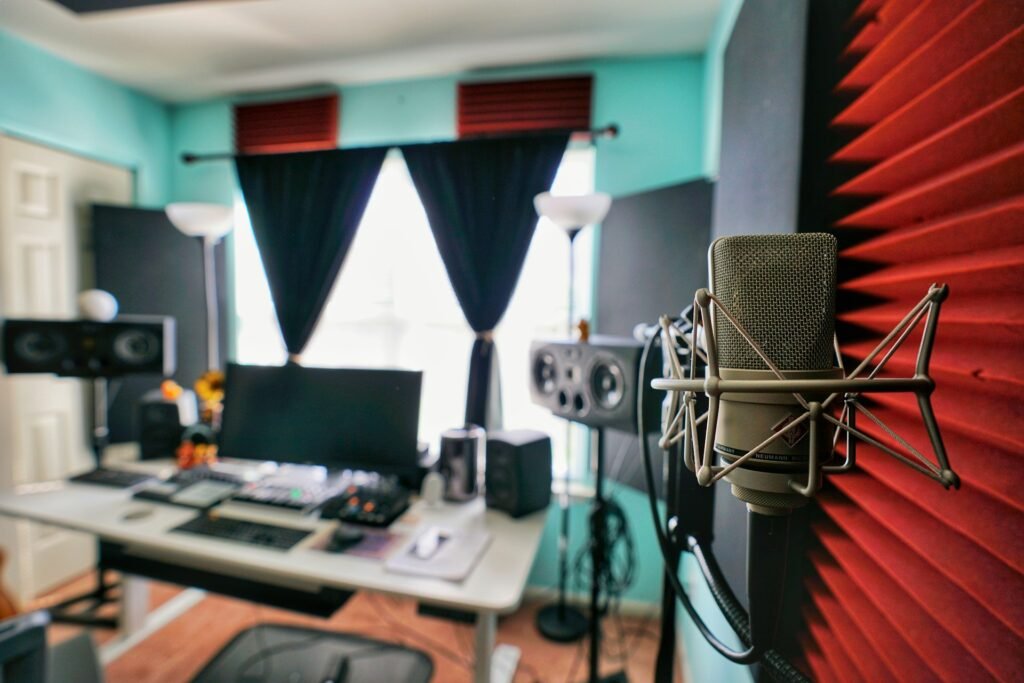
1. Microphone: The Foundation of Quality Sound

Understanding Microphone Types
Your microphone is the most critical piece of equipment. It captures your voice and determines the overall quality of your recordings. There are two main types of microphones suitable for narration:
- Condenser Microphones: These microphones are highly sensitive, capturing detailed and nuanced sound, making them ideal for controlled studio environments.
- Dynamic Microphones: These are less sensitive to background noise, which is great for narrators who record in less-than-ideal conditions.
Features to Consider
When choosing a microphone, look for features such as:
- High-frequency response for capturing the full range of your voice.
- Low self-noise to reduce background hiss.
- Durability for long-term use.
Your microphone choice sets the tone for the entire recording process, so choose wisely.
2. Audio Interface: Bridging Your Microphone and Computer

What Is an Audio Interface?
An audio interface connects your microphone to your computer, converting analog signals into digital audio. It also ensures your recordings are clear, free of latency, and have consistent quality.
Essential Features of an Audio Interface
- High-Quality Preamps: Amplify the microphone signal without adding noise.
- Multiple Input Options: Allows flexibility for future upgrades, such as additional microphones or instruments.
- Low Latency: Ensures real-time monitoring without delay.
A reliable audio interface is the backbone of any professional recording setup.
3. Pop Filter: Eliminate Harsh Sounds

Why You Need a Pop Filter
Pop filters prevent harsh popping sounds caused by strong plosive consonants like “P” and “B.” Without one, these sounds can distort your recordings and distract listeners.
How to Use a Pop Filter
- Attach it to your microphone stand.
- Position it 2–3 inches from the microphone.
- Adjust it to align with your mouth while speaking naturally.
This small investment dramatically improves the smoothness of your recordings.
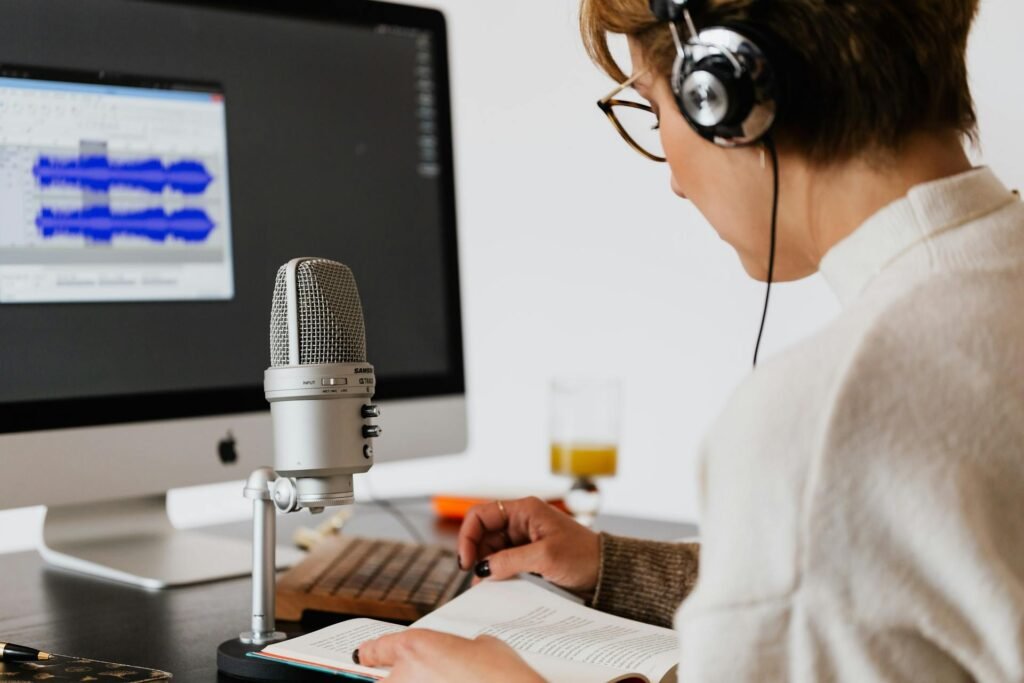
4. Headphones: Accurate Monitoring for Precise Recording

Importance of High-Quality Headphones
Headphones allow you to monitor your recordings in real-time and catch issues like background noise or uneven tone before finalizing your audio.
Features to Look For in Headphones
- Closed-Back Design: Blocks external noise and prevents sound leakage into the microphone.
- Comfortable Fit: Essential for long recording sessions.
- Accurate Sound Reproduction: Ensures you hear your voice exactly as it will sound in the recording.
Monitoring your audio with quality headphones ensures your narration is error-free and polished.
5. Microphone Stand or Boom Arm: Stability is Key
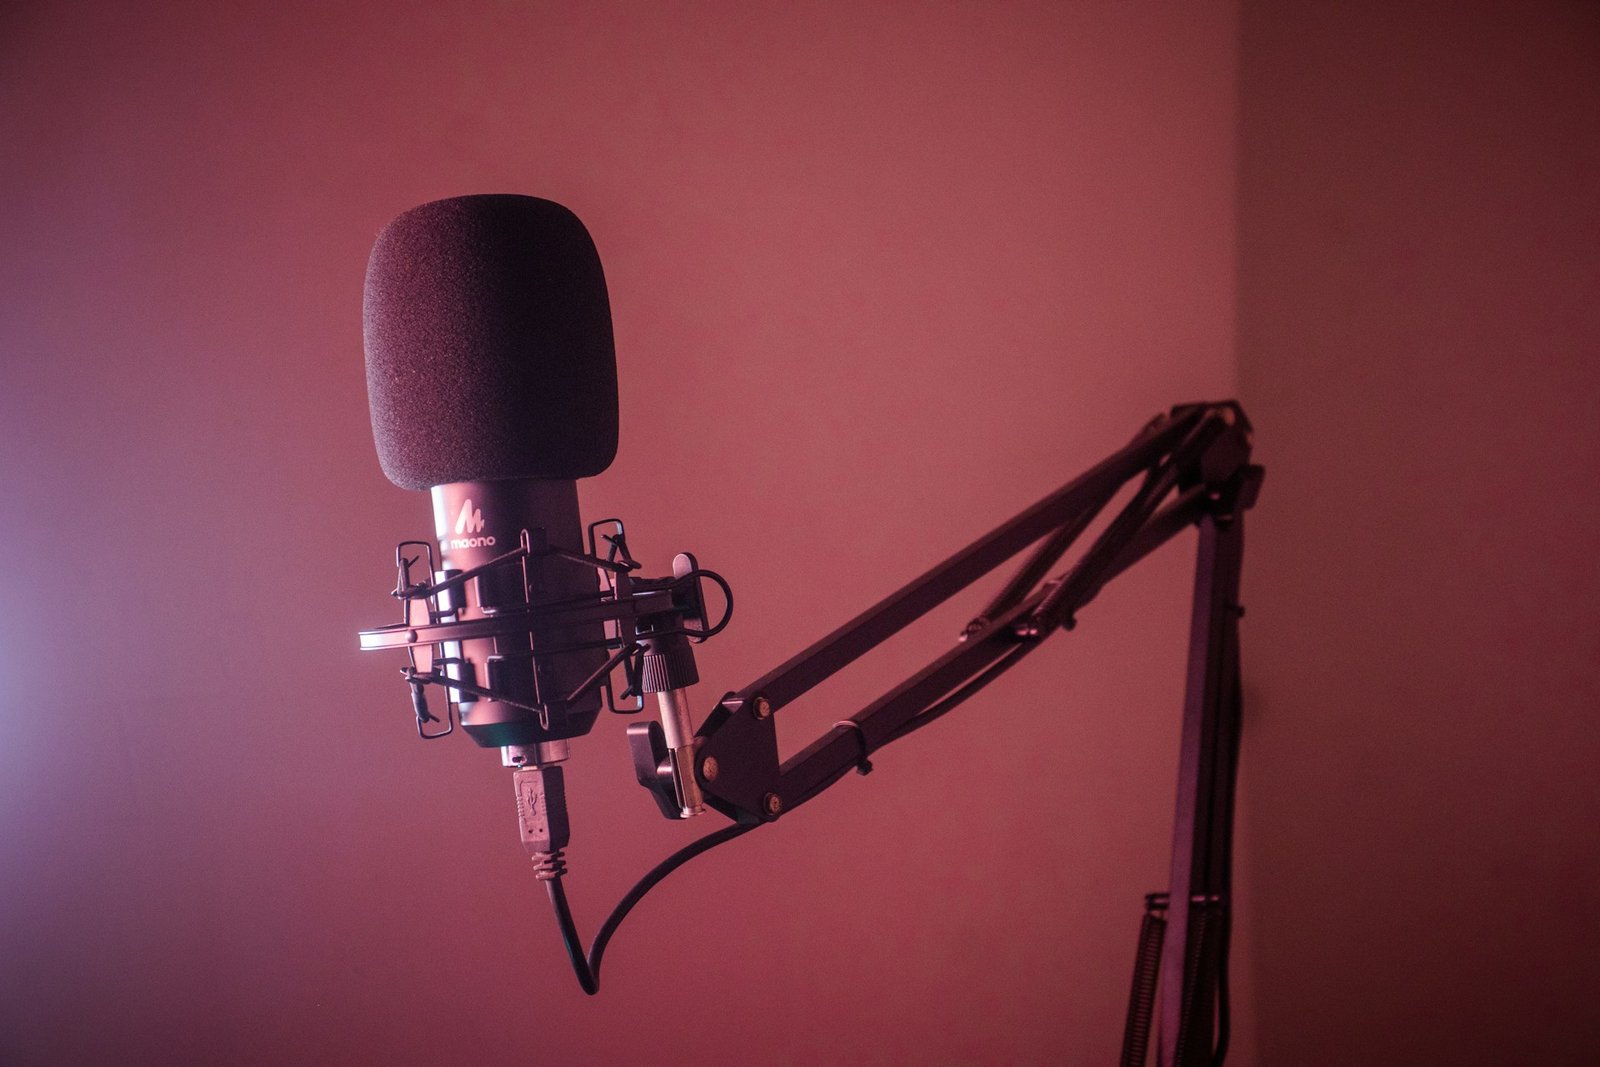
Benefits of a Stable Microphone Position
A microphone stand or boom arm keeps your microphone steady and in the correct position. This prevents handling noise and allows you to maintain good posture during long sessions.
Types of Stands
- Desk Stands: Compact and suitable for small setups.
- Boom Arms: Adjustable and space-saving, ideal for flexible positioning.
Ensure your stand is sturdy and adjustable to accommodate different recording needs.
6. Acoustic Treatment: Optimize Your Recording Space

Why Acoustic Treatment Matters
Acoustic treatment reduces echoes and minimizes external noise, creating a professional recording environment. Even if you’re recording at home, simple adjustments can make a huge difference.
Acoustic Treatment Options
- Foam Panels: Attach to walls to absorb sound reflections.
- Bass Traps: Place in corners to reduce low-frequency noise.
- Reflection Filters: Surround your microphone to isolate sound.
A properly treated recording space ensures clean audio with minimal distractions.
7. Digital Audio Workstation (DAW): Edit and Enhance Your Audio

What Is a DAW?
A DAW is a software that lets you record, edit, and process your audio. It is where your recordings come to life through adjustments and enhancements.
Key Features to Look For in a DAW
- User-Friendly Interface: Allows easy navigation for beginners.
- Advanced Editing Tools: For precise audio adjustments.
- Compatibility: Ensure it works with your computer and audio interface.
Your DAW is an essential tool for creating polished and professional narration recordings.
8. Shock Mount: Reduce Vibrations and Noise

Why You Need a Shock Mount
A shock mount isolates your microphone from vibrations caused by accidental bumps or desk movements. Without one, even minor disturbances can ruin your audio quality.
How to Use a Shock Mount
- Attach it securely to your microphone stand.
- Place the microphone within the shock mount’s frame.
- Adjust as needed to maintain stability.
This simple accessory is a must-have for professional-grade recordings.
9. Cables: Essential for Stable Connections

Why High-Quality Cables Matter
Poor-quality cables can introduce noise and signal loss, compromising your recording’s clarity.
Tips for Choosing Cables
- Use shielded XLR cables for microphones.
- Keep cable lengths short to avoid unnecessary signal degradation.
Reliable cables are the unsung heroes of any professional recording setup.
10. Optional Gear: Going the Extra Mile
Portable Sound Booth
A portable sound booth or isolation shield can provide a controlled environment for recording, especially in noisy or reflective spaces. These tools are especially useful for narrators who work in non-studio settings.
External Preamp
For those seeking enhanced audio quality, an external preamp can add warmth and depth to your recordings. While not essential, it can elevate your setup further.
Tips for Maintaining Your Gear
- Regular Cleaning: Dust and wipe down your equipment to keep it in good condition.
- Proper Storage: Use protective cases or covers when your gear is not in use.
- Routine Testing: Check connections and settings before every recording session.
Proper maintenance ensures your equipment performs reliably for years.
Conclusion
The right gear transforms your narration recordings from average to professional. Start with essentials like a quality microphone, audio interface, and headphones. Enhance your setup with accessories like pop filters, shock mounts, and acoustic treatment. By investing in reliable equipment and maintaining it well, you can consistently deliver recordings that captivate your audience and showcase your talent.
Rooting for you
Love
-Eni K.